


Land Rover Defender 110 X 2024 - Pre-Cut PPF
Land Rover Defender 110 X 2024 - Pre-Cut PPF
Couldn't load pickup availability
- Perfect for both DIY and professional installation
- Crystal-clear, premium film that keeps your car’s original look
- Precisely pre-cut to fit Land Rover Defender 110 X 2024
- Protects against stone chips, light scratches and everyday wear
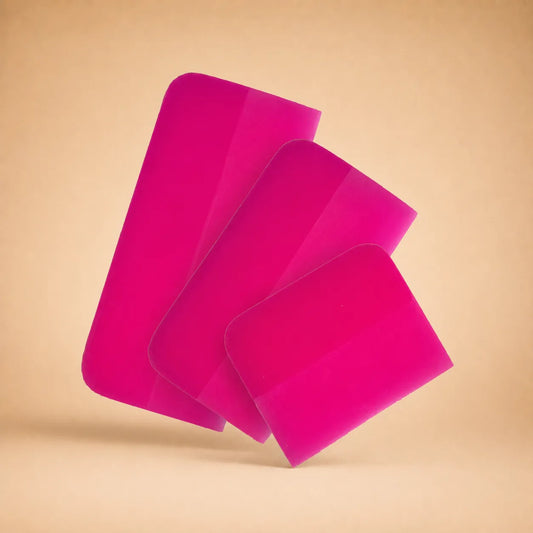
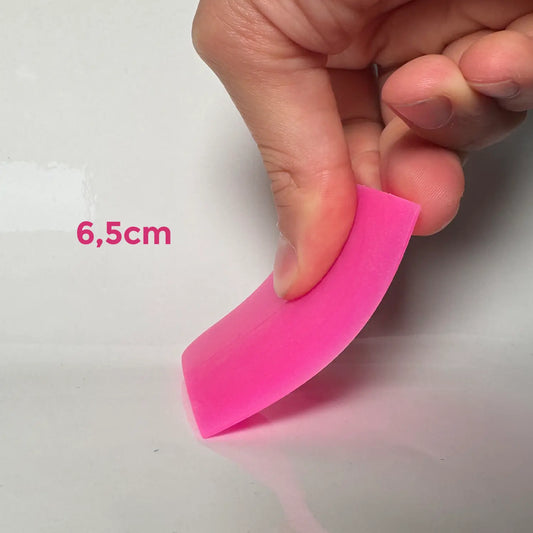
- Installation tools included: squeegee & spray bottle (one per order)
- Free installation guides & video tutorials on our website





Installation Tools
-
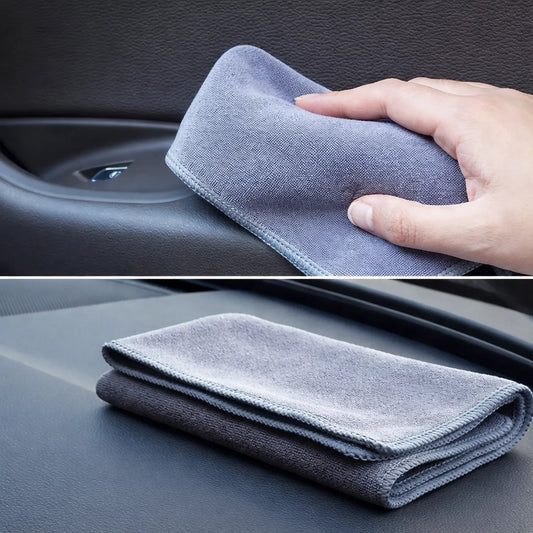
PPF-Kits Microfiber Towel - 40x40 cm - 400GSM
Regular price From €5,50Regular priceUnit price per -
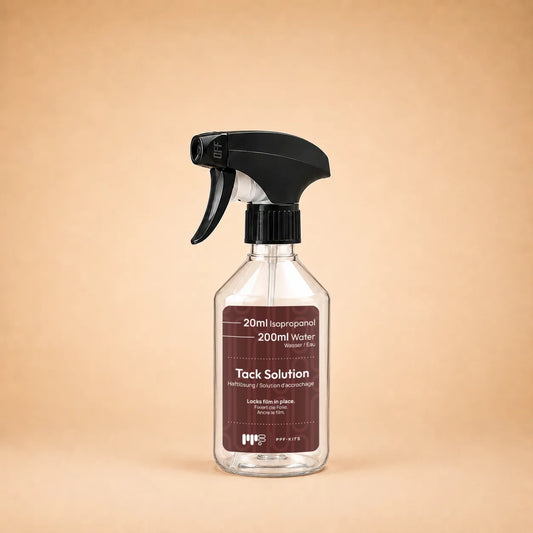
PPF-Kits Tack Solution Bottle
Regular price €4,50Regular priceUnit price per -
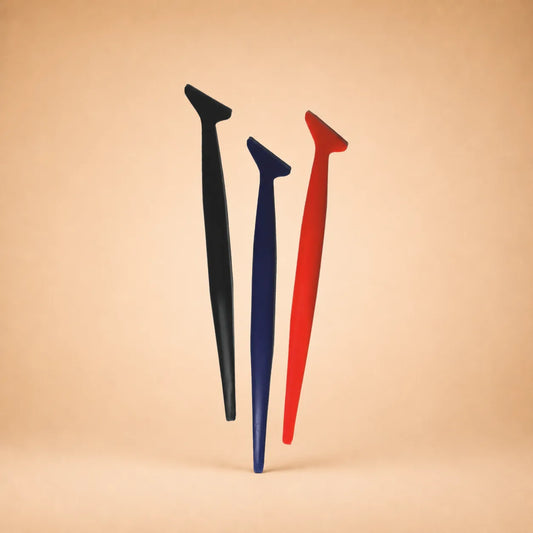
Mini Edge Tool Squeegee Bundle for Vinyl & PPF
Regular price €14,00Regular priceUnit price per -
Flexible Rubber Squeegee for PPF installation
Regular price From €4,50Regular priceUnit price per -
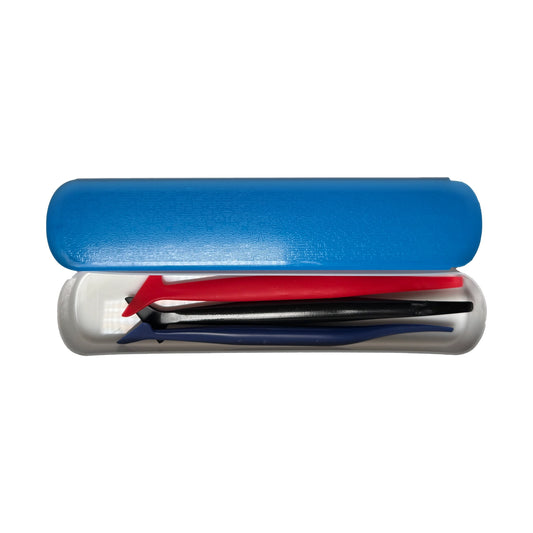
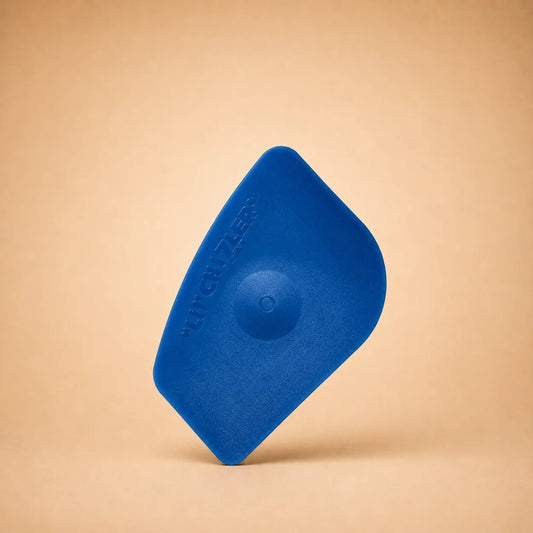
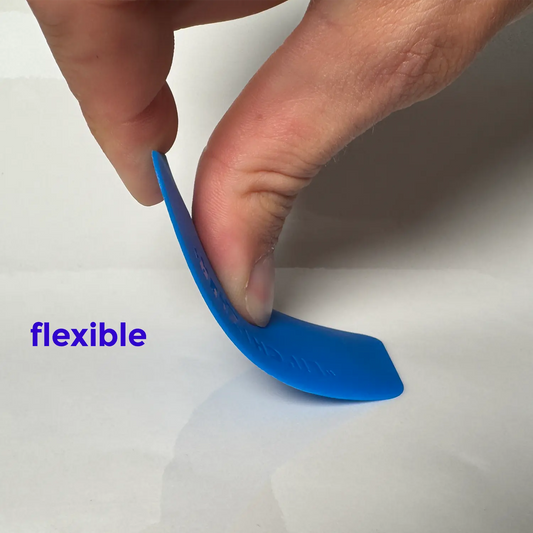
Lil Chizler Edge Squeegee - Blue flexible for Vinyl & PPF installation
Regular price €2,50Regular priceUnit price per -
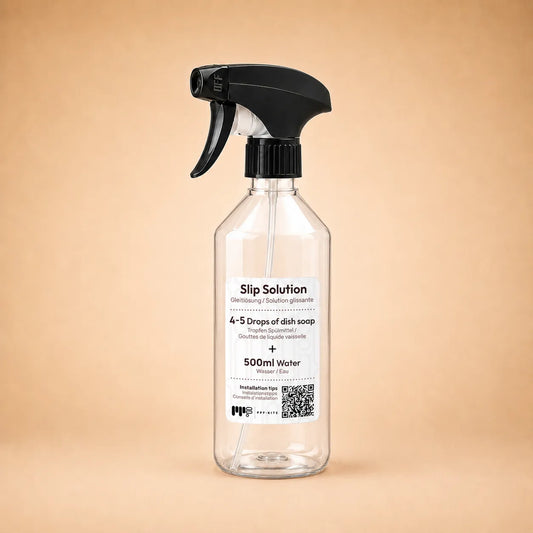
PPF-Kits Slip Solution Bottle
Regular price From €4,50Regular priceUnit price per


More info
About this kit
The Land Rover Defender 110 X is the top of the conventional Defender 110 range, marked out by a black contrast hood, Narvik Black skid plates and sporting orange brake calipers. That dark hood is also the panel where stone chips and fine scratches show most clearly, and it sits directly behind a flat, upright front that meets debris head-on. Like every Defender, the long body exposes wide flanks and side skirts to the gravel its own tires kick up, while the tall tailgate with its exterior spare wheel stays in plain view. A pre-cut PPF kit keeps the X's contrast finish and body paint clean of chips and scratches.
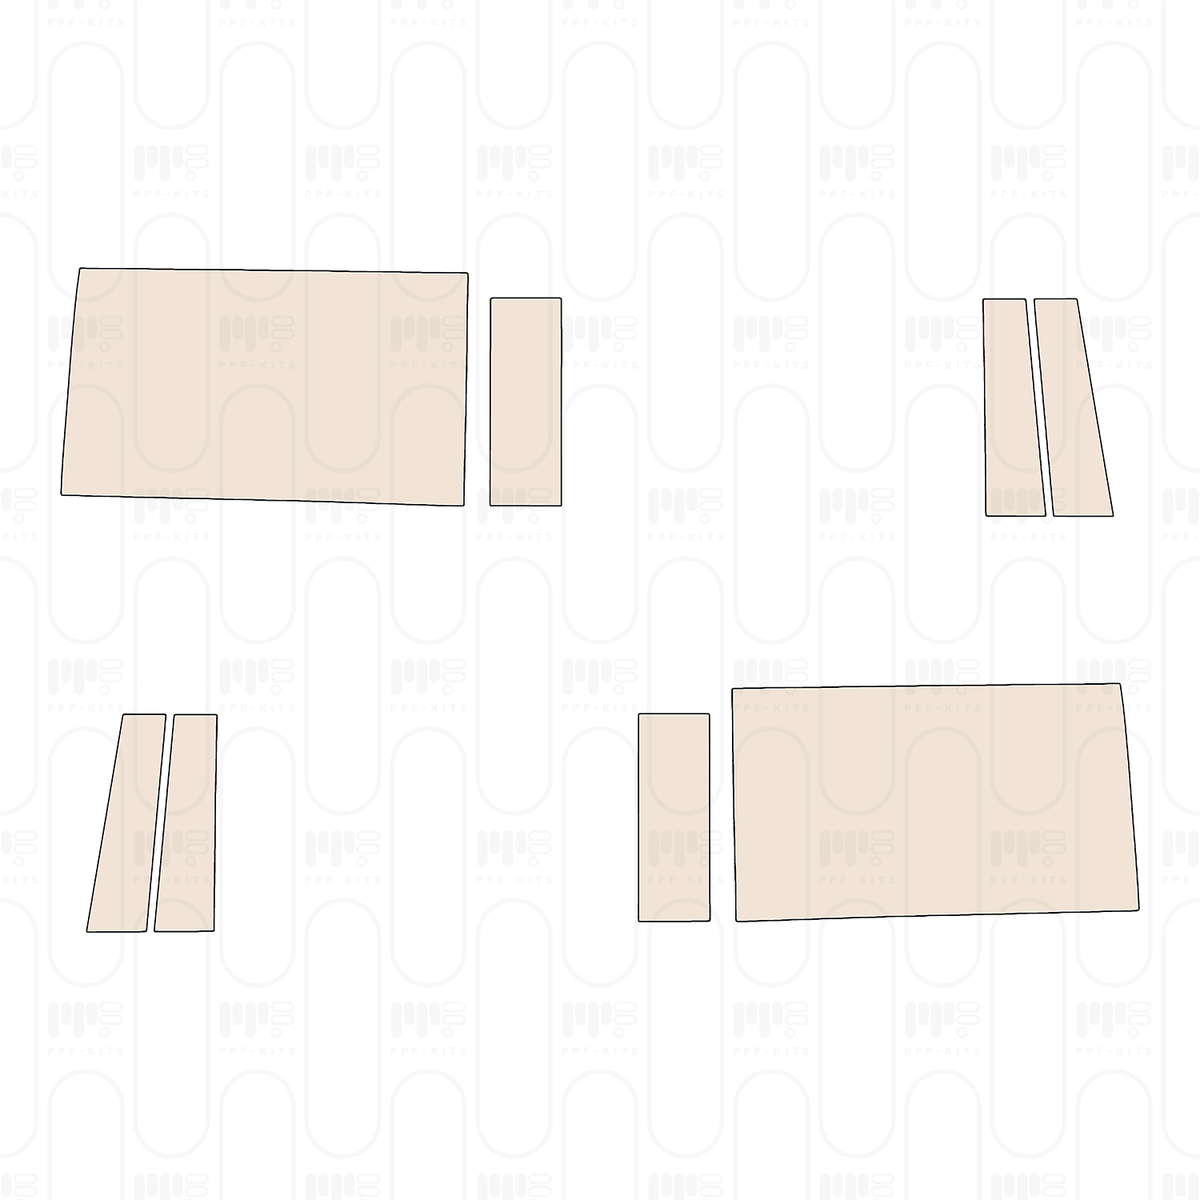
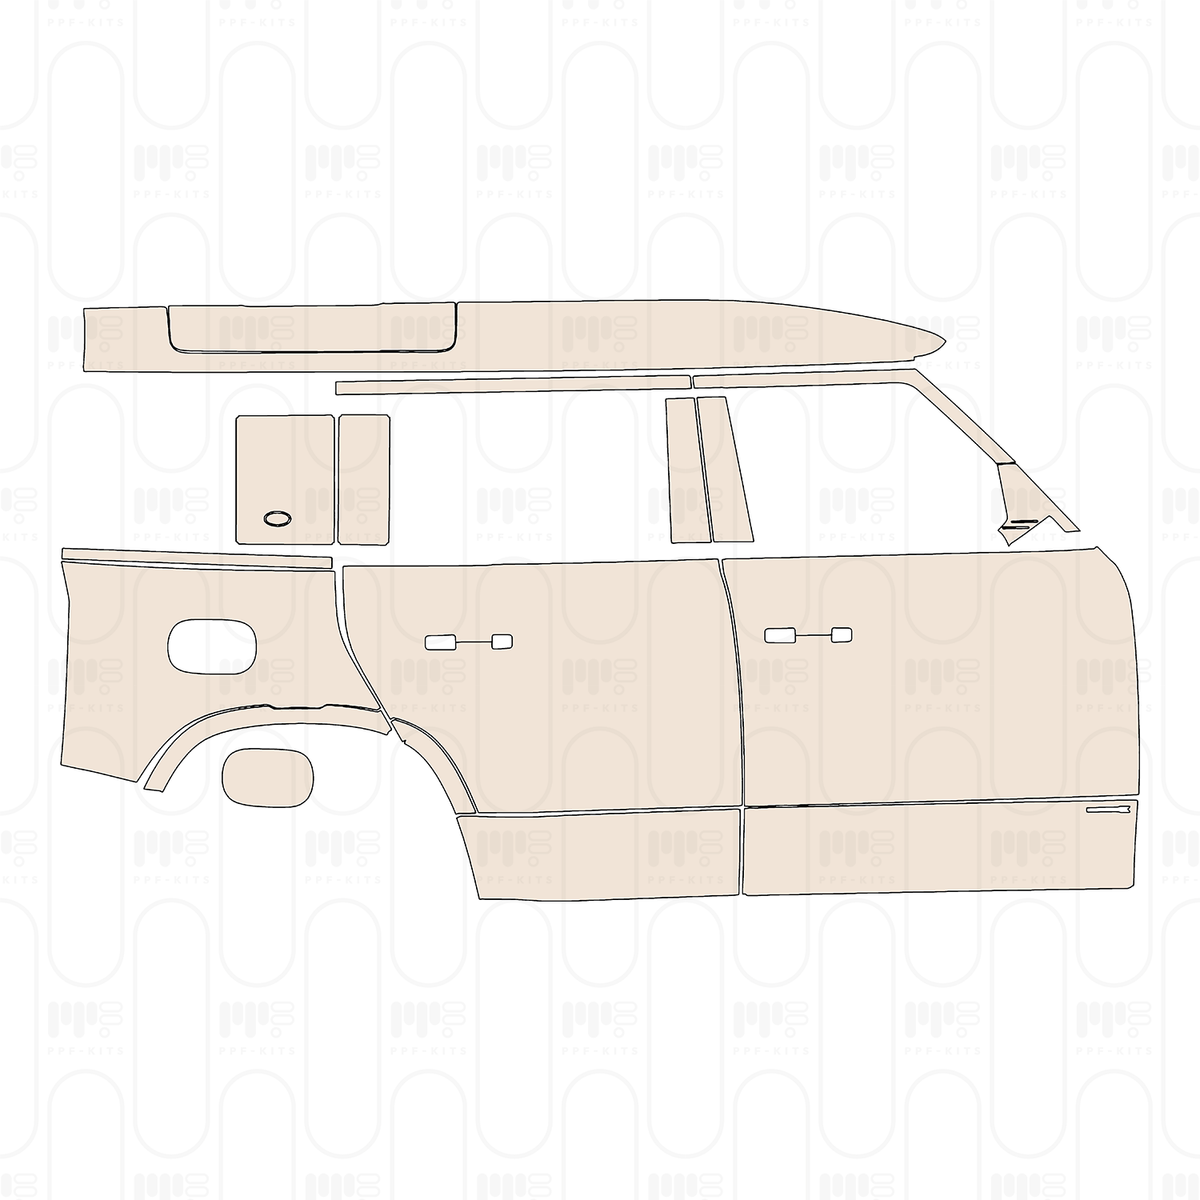
Every part in this kit is pre-cut from a model-specific pattern made for the Defender 110, with cut-outs for the mirror-mounted surround cameras and the six rear parking sensors. The one-piece side sections covering door, B/C-pillars, rear fender and side skirt are cut either around the Defender X badge on the front door or for the Explorer Package, the hood and fenders cover Explorer and Snorkel Package variants, and the tailgate is shaped for the DEFENDER lettering alone or together with a P400 HSE badge.
We develop the cutting patterns in-house using modern 3D scanning technology and produce the pre-cut films in our own production, then ship most orders the next business day. Each kit arrives pre-weeded, so only the parts you order are on the sheet, ready for a clean DIY installation with the included squeegee and spray bottle, or a quick job at your detailer.
Which parts should you protect on your Land Rover Defender 110 X? It depends on how much of that black hood and body paint you want to keep flawless, and whether your X sees gravel as well as tarmac.
- Full PPF coverage: the front bumper with headlamps, the contrast hood and fenders, the A-pillars, scuttle panel and roof, the B/C-pillars, the side sections with their Defender X badge cut-outs, the door handles and mirrors, the tailgate, the spare tire cover and the rear bumper.
- Front-end protection: the bumper and headlamps, the hood and fenders or one-third hood coverage, the A-pillars, the scuttle panel and the mirrors, protecting the dark hood where chips would be most visible.
- Daily-use essentials: the door handles, the lower doors and side skirts, the spare tire cover and the sensor-equipped rear bumper, which pick up the scrapes of loading, climbing in and gravel spray.
You can choose from a range of films for this kit, from a cost-effective PVC to a premium self-healing TPU, depending on your budget and how long you keep the car. The material guide below helps you pick the right one.
Compare the cutting patterns shown in our shop with your vehicle. The cut-outs for the parking sensors and the panel shapes usually make the right fit obvious, even without experience. Still unsure? Send us a photo via the contact form or 24/7 live chat.
Questions
FAQ
Does the PPF really fit my exact car model?
Yes. Our kits are based on millimeter-precise 3D scans of real vehicles. The scan data is converted into mathematically accurate 2D patterns, ensuring a precise and guaranteed fit.
If a Film appears not to fit, it is usually due to the wrong kit being ordered, an installation issue (e.g. wrong installation environment, temperature too cold, or not enough stretching), or another application error.
If you're unsure about your model, send us a photo or details via Live Chat and we'll double-check before shipping.
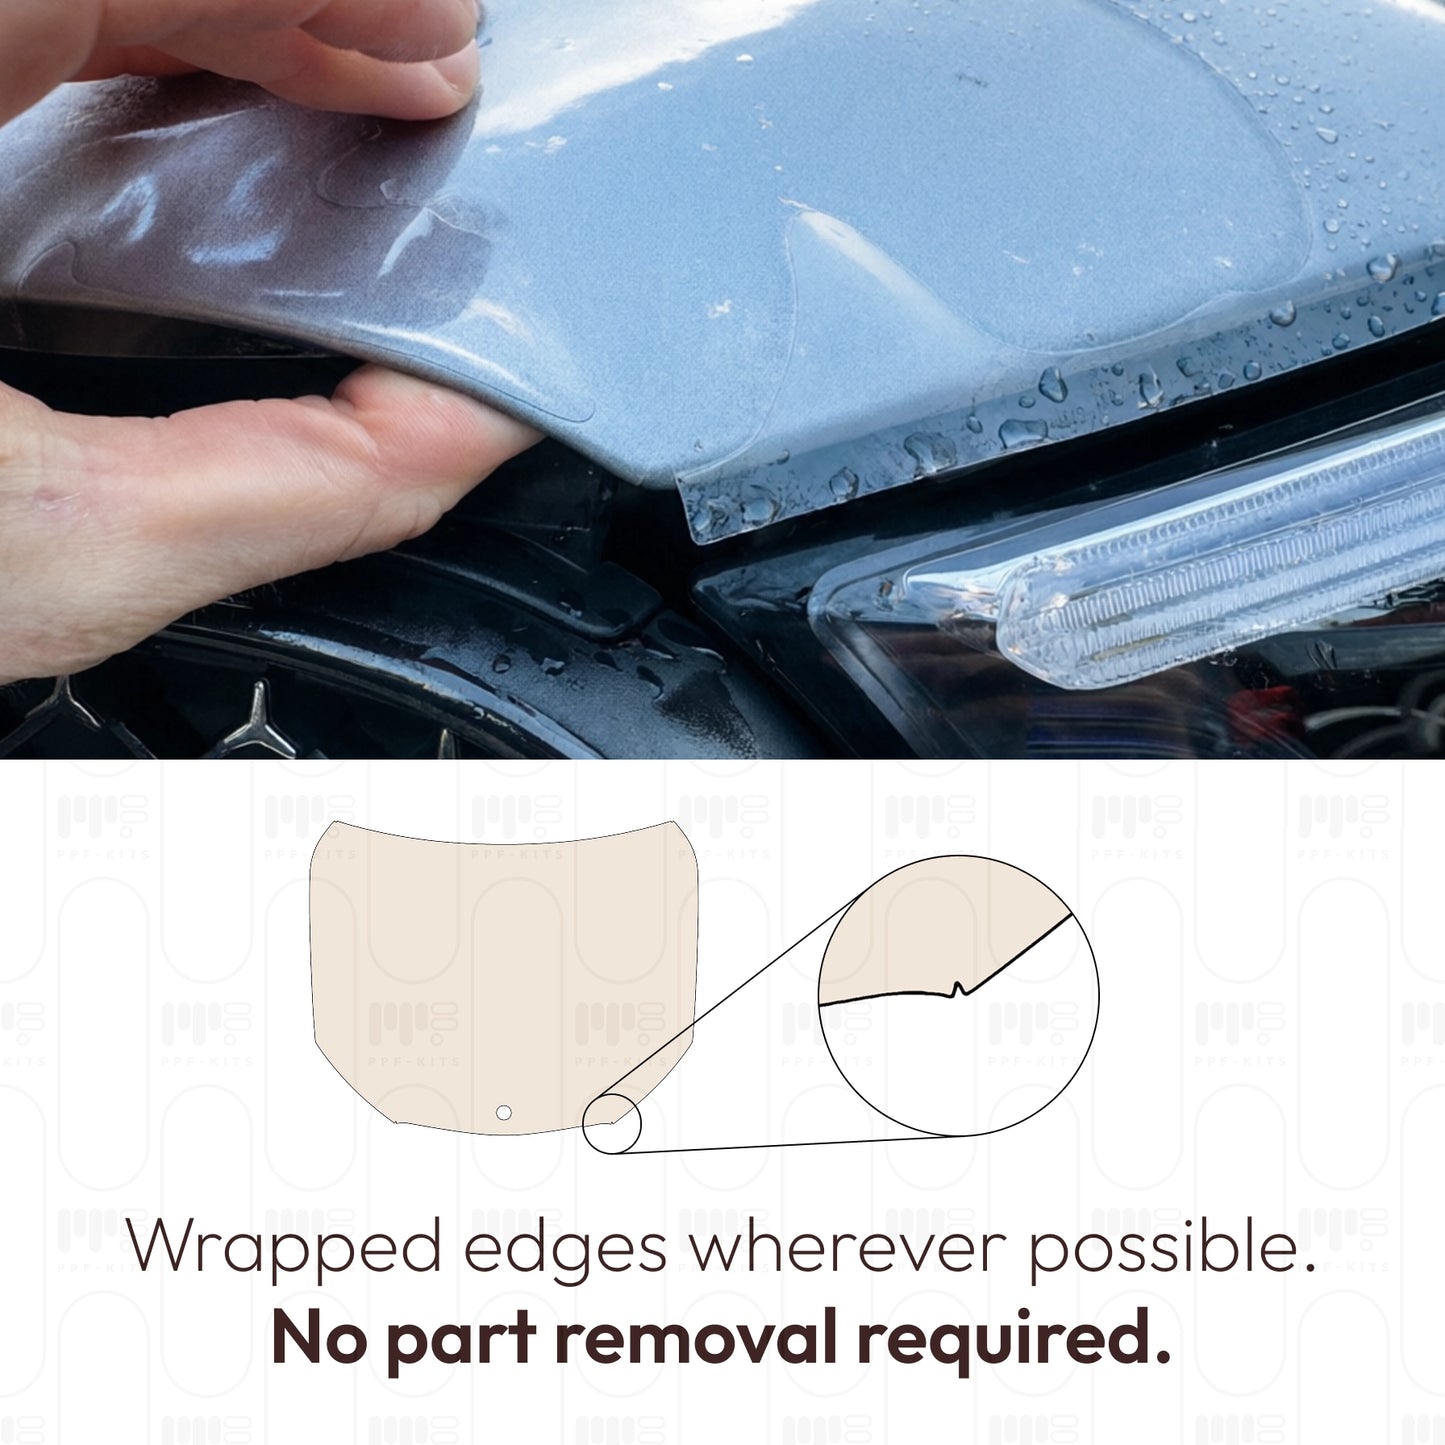
Are the Edges wrapped?
Yes, whenever possible. Our patterns are designed so the Film can be wrapped around the edges of panels wherever it is possible without disassembling the car and where a usable edge exists.
For parts like hoods, fenders, doors, and trunk lids, edges are almost always wrapped. You can also check this in our product images, which show the exact coverage.
In some areas wrapping is physically not possible. For example, the gap between a fender and bumper or between a fender and door is often too small to insert the Film without removing parts.
Professional installers who work with bulk Film sometimes disassemble parts of the car to wrap deeper inside, but this is usually done only for very high-end installations.
How long does Production & Shipping take?
We usually ship your order the next business day. All Films are produced after your order is placed.
If we experience very high order volume, production may take one additional day. In case of material shortages or other delays, we will inform you immediately.
Shipping is free for orders over €100 in most EU countries, and delivery within the EU typically takes about 1–4 days.
You can find more details on our Shipping page
What if I can't find a Kit for my Car?
If your vehicle is not listed, simply reach out to us. You may have missed it or it may not be released yet. Sometimes we already have the patterns but they are not yet published in the shop.
If we truly don't have your vehicle yet, we can source the car, scan it in 3D and create precise Pre-Cut patterns, which are then added to our Store.
Learn more in our Knowledge Base
How to remove PPF later?
PPF can be safely removed without damaging your paint. Warm the film slightly with a hair dryer or heat gun and peel it off slowly at a 45° angle. Any residue can be cleaned with adhesive remover or isopropyl alcohol.
Read more about it in our Knowledge Base
How long does the PPF last?
Our standard Film protects your paint for 4–6 years, depending on exposure and care. Premium TPU films can last up to 10 years. They resist scratches, yellowing, and UV damage keeping your paint looking new.
Please check out our Material Selection guide to find the Film that fits your needs.
Can I install the Films by myself?
Probably. Our Pre-Cut PPF-Kits are precisely cut to size.
If you're handy, patient, and enjoy working on your own car, you can save a lot of money compared to professional installation.
We include basic instructions to guide you through handling and applying the film. All essential tools: a squeegee and a spray bottle are included once per order.
Check out our YouTube videos for Installation Tips & Tricks.
There is a lot of Information online and on YouTube. Do your research before installing the first time.
If you've worked with vinyl or window tint before, the process will feel familiar. It's not effortless, but with care and patience, it's absolutely doable and very rewarding to install it yourself and see the result of your own work.
How your Pre-Cut Kit is Made & Delivered
Production of your Pre-Cuts
Our high-precision plotters cut each piece exactly as ordered. Every sheet is carefully inspected to ensure an excellent result.

Inspection & Packaging
Each kit is securely packed for safe transport. It includes the standard installation tools as well as any extras you added to your order.
Unpacking
After unpacking, please inspect all sheets carefully for possible damage. If you notice any issues, contact us immediately via live chat before starting the installation.
Preparing your Car
Before applying, thoroughly wash and degrease your car. Make sure the surface is completely free of insects, oil, or dust for the best possible results.
Learn
View our Knowledge Base

XPENG G6 & G9 PPF: The Complete Paint Protection Film Guide
Where the XPENG G6 and G9 chip first, the door-sill piece owners forget, facelift fitment, PPF vs ceramic, real kit prices and DIY tips.

Zeekr 7X PPF: The Owner's Guide to Protecting Your Paint
Where the Zeekr 7X chips first, the sills owners forget, matte satin PPF, PPF vs ceramic, real kit prices and DIY install tips.

Leapmotor C10 PPF: Pre-Cut Paint Protection Film Guide (BEV & REEV)
Where the Leapmotor C10 chips first, the door-sill and rocker pieces owners forget, how to open the hood, PPF vs ceramic, real kit prices and DIY tips.